2.2. Adding a Key-Value Pair in a User Interface
The following HTML code contains a form element (instead of a table) for allowing the user to enter new key-value pair data in a user interface. The navigation menu (in the nav element) is the same as above and is therefore omitted.
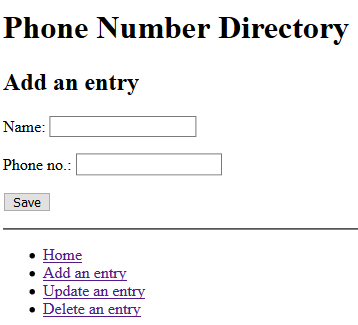
The form-based user interface consists of two labeled input fields (named "key" and "value") and a Save button. Each user interface element is contained in an HTML p element that defines a layout block for it.
1 2 3 4 5 6 7 8 9 10 11 12 13 14 15 16 17 18 19 20 21 22 23 24 | <!DOCTYPE html>
<html xmlns="http://www.w3.org/1999/xhtml">
<head>
<meta charset="UTF-8" />
<title>Phone Number Directory</title>
</head>
<body>
<h1>Phone Number Directory</h1>
<h2>Add an entry</h2>
<form>
<p><label>Name: <input name="key"/></label></p>
<p><label>Phone no.: <input name="value"/></label></p>
<p><button type="button" onclick="save()">Save</button></p>
</form>
<hr/>
<nav>...</nav>
<script>
function save() {
let formEl = document.forms[0]; // the 1st form on the page
localStorage[formEl.key.value] = formEl.value.value;
}
</script>
</body>
</html> |
The script element only contains the JavaScript code of the save function, which adds the key-value pair entered in the form fields "key" and "value" to the localStorage database.
Exercise: Copy and paste the HTML code, including the script element with its JavaScript code, into a fresh editor window. Don't forget to insert the content of the nav element from the previous subsection. Then save the content of the editor window in your example folder as "add.html". Then open the "add.html" file in a browser. You should see a page containing a user interface as in Figure 2-1 below. Add a name and a phone number and click the Save button. Then click on Home in the menu for checking if your new key-value pair has been added to the store.